Introduction to Fly Tying
Fly tying is an art that combines creativity, skill, and knowledge of the aquatic world. It is a fascinating practice where anglers create artificial flies to mimic the natural prey of fish, enhancing their chances of a successful catch. Understanding the nuances of fly tying can not only elevate your fishing experience but also provide a relaxing and rewarding hobby that connects you to nature’s rhythm.
Understanding the Basics of Fly Tying
At its core, fly tying involves the manipulation of various materials using a hook and thread to create a functional fly. The materials used can include feathers, fur, synthetic materials, and beads, each chosen for their reflective properties, movement in water, and ability to imitate specific insects or bait fish. Beginners are encouraged to start with simple patterns to grasp the fundamentals before progressing to more complex designs.
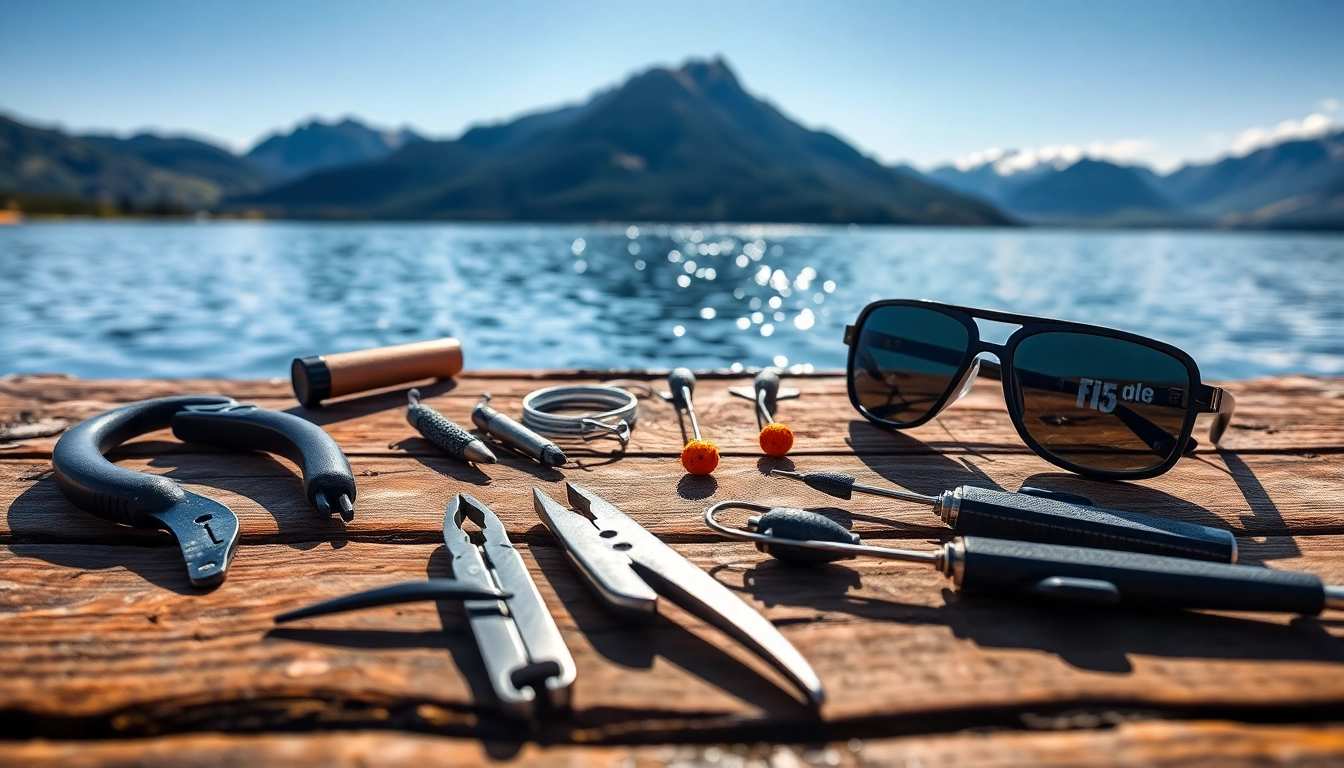
Essential Tools and Materials for Fly Tying
To embark on your fly tying journey, certain tools and materials are indispensable:
- Vice: A fly tying vice holds the hook securely while you work. It comes in various styles, each serving different preferences.
- Thread: It is crucial to choose the right thread type and size for the fly you are creating. Typically, you’ll use nylon or polyester threads.
- Bobbin: A bobbin holds the thread and allows for easy control while tying, ensuring tension is maintained.
- Scissors: Sharp scissors are vital for trimming materials accurately and cleanly.
- Hackle Pliers: These help in handling delicate materials, particularly feathers, ensuring they are placed correctly on the fly.
- Whip Finish Tool: This tool is essential for securing the fly’s head and preventing unraveling.
Additionally, a variety of feathers, furs, and synthetic materials will be needed, allowing for endless versatility in your fly designs.
Safety Tips for Beginners
Safety is paramount when engaging in fly tying. Here are essential tips to ensure a safe tying experience:
- Keep tools in good condition: Dull tools can lead to accidents; regular maintenance ensures your scissors and other tools are sharp.
- Use proper lighting: Adequate lighting is crucial for precise work; consider using a magnifying lamp if you need it.
- Proper posture: Maintain a comfortable and ergonomic position to avoid strain during long tying sessions.
Techniques for Effective Fly Tying
Mastering fly tying techniques is essential for creating effective flies that can attract fish successfully. These techniques can vary in complexity and function.
Basic Knots Every Fly Tyer Should Know
Knot tying is fundamental and often determines the effectiveness and durability of any fly. Here are key knots every fly tyer should master:
- Improved Clinch Knot: Excellent for attaching flies to the tippet.
- Palomar Knot: Versatile and strong, suitable for connecting a line to a hook.
- Loop Knot: Allows for better movement of the fly in the water, perfect for streamers and floating flies.
Layering Techniques for Enhanced Realism
Layering materials can significantly improve the realism of your flies. By carefully arranging materials from the heaviest to the lightest, you can create a more natural profile. Using dubbing under the fur, or layering feathers of varying colors and textures can replicate the appearance of live bait, increasing your success rate on the water.
Choosing the Right Materials for Specific Flies
Understanding the purpose of each material is vital for effective fly tying. Natural materials generally provide lifelike movements, while synthetic materials offer durability and UV resistance. Here’s a breakdown:
- Feathers: Use duck, goose, or cock hackle for tails, wings, and hackle.
- Fur: Rabbit, deer, or squirrel fur serves well in various applications for body materials.
- Synthetics: Options like glitter, foam, or silicone lend themselves well to specific patterns needing buoyancy.
Common Challenges in Fly Tying
Every fly tyer faces challenges, particularly when starting. Knowing what to expect and how to tackle these issues is crucial for growth.
Common Mistakes and How to Avoid Them
Here are some common missteps that beginners may encounter:
- Overusing materials can make flies bulky; focus on minimalism and elegance in designs.
- Not securing parts tightly can lead to flies falling apart; ensure all materials are properly tied in.
- Rushing the process; take your time to develop a consistent tying rhythm and rhythm.
Troubleshooting Your Fly Designs
When flies don’t perform, analyzing and troubleshooting the design can help in making necessary adjustments. If a fly isn’t floating as intended, check the weight of the materials or the choice of thread. If the pattern isn’t attracting fish, consider varying colors or adding movement to simulate live prey.
Dealing with Frustration: Tips for Staying Motivated
Frustration can easily creep in when things don’t go as planned. It’s vital to cultivate a patient mindset. Set small, achievable goals, embrace mistakes as learning opportunities, and take breaks to clear your mind. Engaging in a community of fly tyers can also enhance your motivation through shared experiences.
Advanced Fly Tying Methods
Once comfortable with the fundamentals, exploring advanced fly tying methods can be exciting and rewarding. These techniques involve more creativity and skill, allowing for the creation of unique patterns that stand out.
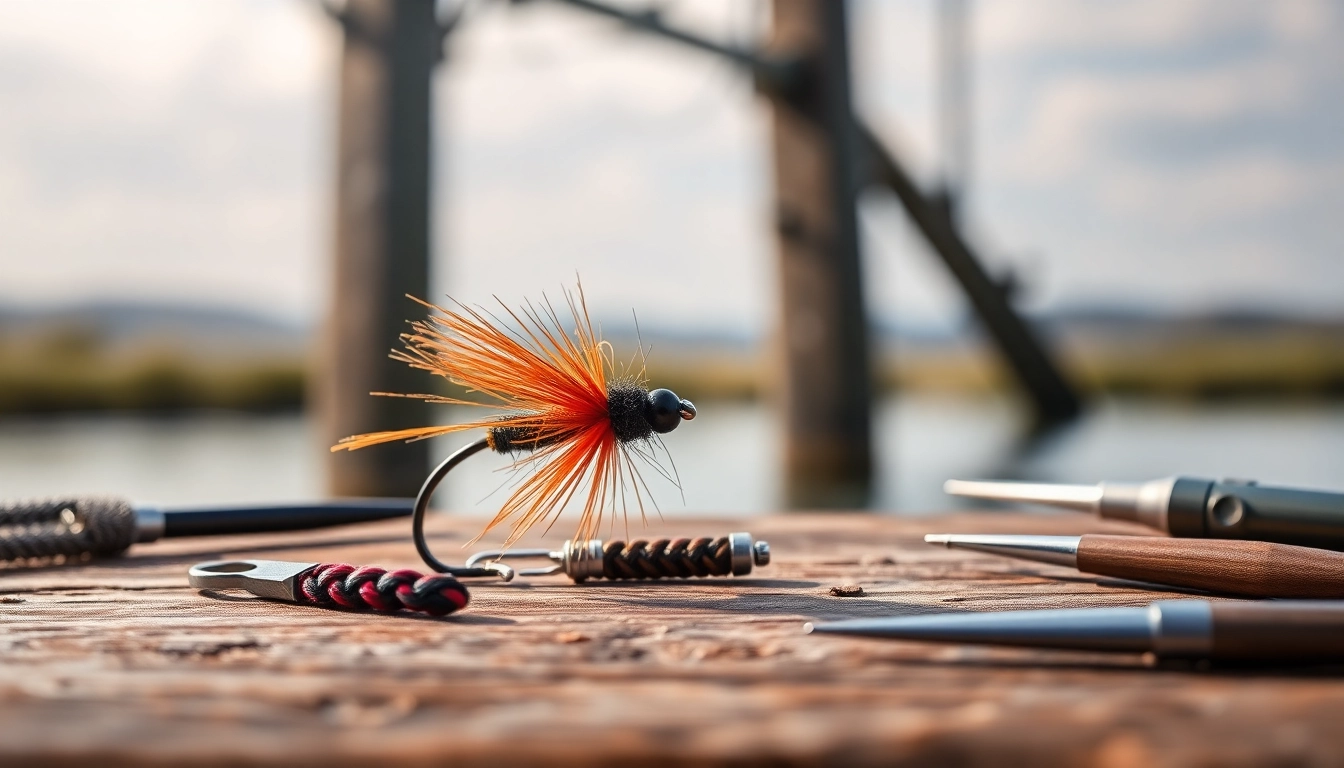
Innovative Patterns to Try
Diving into innovative patterns can push your fly tying to the next level. Consider experimenting with:
- Streamers: Use combination of materials to simulate baitfish with swimming movement.
- Dry Flies: Techniques that involve parachute wings or foam for realistic floating.
- Saltwater Flies: Incorporate tougher materials to withstand harsher conditions.
Combining Techniques for Unique Flies
Combining different fly tying techniques allows for truly unique creations. For instance, using layering techniques combined with a saltwater approach can yield flies that are both durable and appealing to fish.
Personalizing Your Flies for Better Results
Personalization is one of the joys of fly tying. Customizing patterns based on your experiences can lead to unique and productive flies. Consider local water conditions, specific fish species, and time of year to create tailored flies that can outperform generic options.
FAQs about Fly Tying
What is the best type of fly for beginners?
The best type of fly for beginners is typically a simple dry fly pattern, such as a Adams or Elk Hair Caddis. These are relatively easy to tie and effective for various freshwater fish.
How long does it take to learn fly tying?
The time it takes to learn fly tying varies by individual, but with regular practice, you can develop foundational skills in about a month. Mastering complex patterns may take several months or years.
Can I use any thread for fly tying?
Not all threads are suitable for fly tying; use specific nylon or polyester threads designed for tying. These are stronger and have the necessary diameter for effective flies.
What materials are essential for fly tying?
Essential materials include hooks, thread, feathers, fur, synthetic fibers, and beads. Each component plays a significant role in creating effective patterns.
How often should I practice fly tying?
Practice regularly for at least a couple of hours each week to build and refine your skills. Consistency will help you master the nuances of the craft over time.